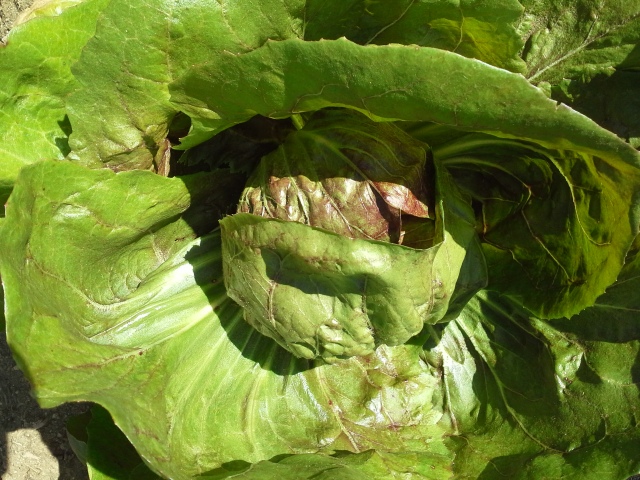
This radicchio plant has grown a head in its first season! I’ll cut it now and it will grow more plants.
I’ve been very pleased with the radicchio plants that I sowed early last fall. I’ve kept most of them under screened wire cages for a few months now, nighttime lows have been between 50ºF and 55ºF for the last month, and those that received the most shade have produced heads! The two that received the most sunlight were not producing heads, so I cut most of the leaves off to force head production; funny thing is, while the one receiving the most shade produced a loose-leaved head after that, the one receiving more sunlight produced more plants! Radicchio is so fickle! Meanwhile, the radicchio plants that are now more than 1-1/2 years old (which have been continuously covered with a screened wire cage) have continually grown several new plants each season, but only a few heads this season. I’ve had to cut plants away and leave only a few to continue growing (and my hens love the leaves), to avoid overcrowding them and encourage head growth, but they just keep growing new plants! I had no idea that, given the right conditions, Radicchio was so hardy!
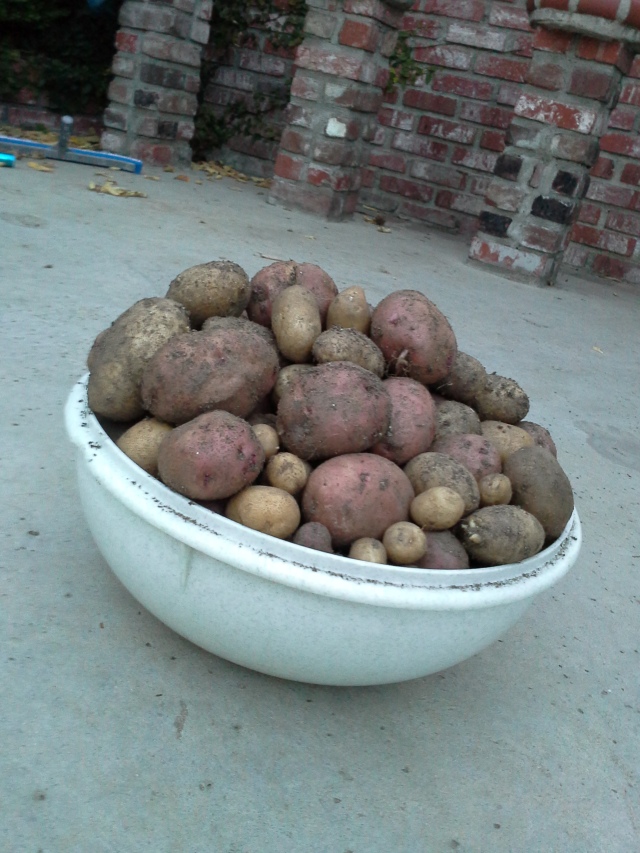
This year’s potato harvest (most of it, anyway).
I began harvesting potatoes about two weeks ago, and finished the job today, as I began to realize that new growth on some of the plants meant some of the new spuds were sprouting already. About five of the plants in containers were growing enormous amounts of foliage, bearing flowers and “fruit” (which none of the other plants were doing), so I decided to remove all of the plants from the containers and the soil gardens. Those bearing flowers grew lots of hairy roots, but only a couple tiny spuds, which was quite a disappointment! I also discovered that styrofoam containers do not keep the soil moist, so not much came from those two plants. The plants that gave up the largest harvest were in 10 – 15 gallon black plastic containers and clay “strawberry pots” with white plastic bags inside them to keep the soil from spilling out of the side openings. Very large clay pots also worked well, but came in second when it came to moisture retention. Those containers that retained the most moisture produced the most spuds.

A portion of the front garden, showing the okra bed (with drip tubing in place) and the winter crops that will soon be replaced with corn, beans and habanero peppers.
I was unable to obtain drip tubing with 18″ spacing for the okra bed, so I opted for 6″ spacing because 12″ spacing is too far apart for maximum production. Besides, since okra likes lots of water and I don’t keep the water on for more than 5-10 minutes, I’m assured it will get all the water it needs. I laid out the drip tubing first, then started at one end and planted my seeds at every third drip hole after adding organic fertilizer in each hole. I’ve kept the seeds moist every day for five days, but with temperatures cooling today, I’ll hold off on the water until it warms up again.
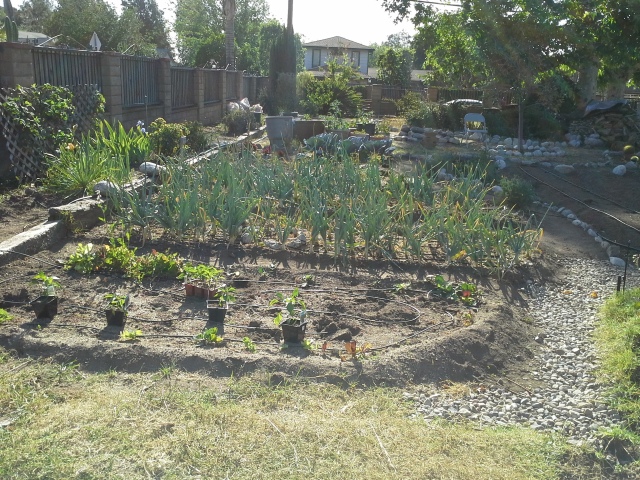
Getting ready to plant bell peppers and jalapenos. Giant scallions in the background are being harvested as needed.
I have placed the bell pepper and jalapeno seedlings in the bed they’ll call home to accustom them to the sunlight they’ll receive. I’ve transplanted the broccoli plants from this bed into large containers at the other end of the garden to make room for the peppers and provide more sunlight for the broccoli. While several of the “mesclun mix” plants remain in this bed, I’ve pulled most of them since this photo was taken. Most went to the hens and about 6 or 7 small lettuce, chard and kale plants were transplanted into the aquaponic garden.
The Dutch onions planted from sets will probably not form large bulbs that can be stored because they can’t receive enough daylight hours here. However, they have become gigantic scallions, and we take them from the garden as needed. They are perfect for salads, sandwiches, grilling or adding to a stew.
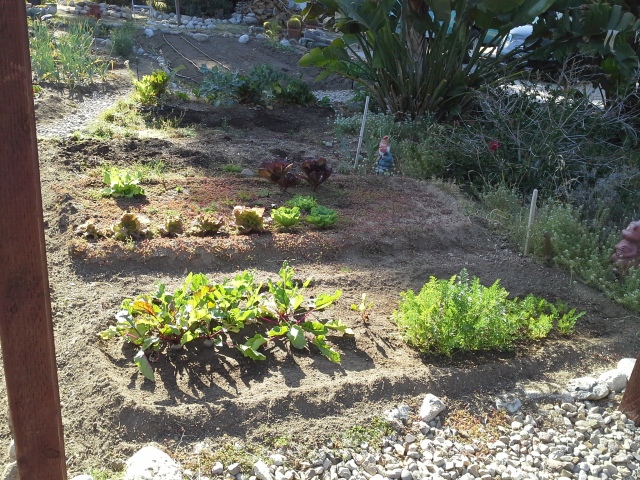
Beets, carrots and lettuce plants
Since installing the micro-watering system in other parts of this garden, I’ve had to water these two beds with a watering can to avoid over-watering other beds. This method does not work as well as the sprinkler with some crops, however, and most of the lettuce is taking a beating. Therefore, I’ve removed all the lettuce plants and fed them to the hens. This bed will now become a home for beans. I’ve begun to harvest the beets, but the carrots will take much longer.
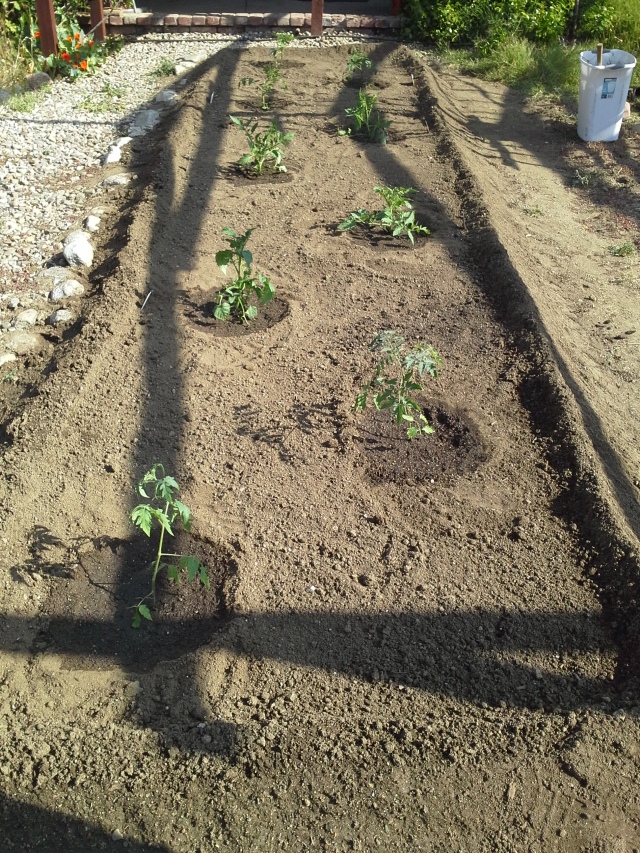
The first planting of tomatoes. Four of these are Health Kick plum tomatoes, two are supersteaks and two are unknown varieties transplanted from the greenhouse.
Most of these tomato seedlings were purchased. One of the two transplanted volunteers from the greenhouse (which is partially shaded) started wilting in the sun, so I placed a shade over it and made sure it had enough water for about four days before removing the shade (visible in the photo below, just above the fellow wearing a hat), and now it’s doing just fine – such a trooper!
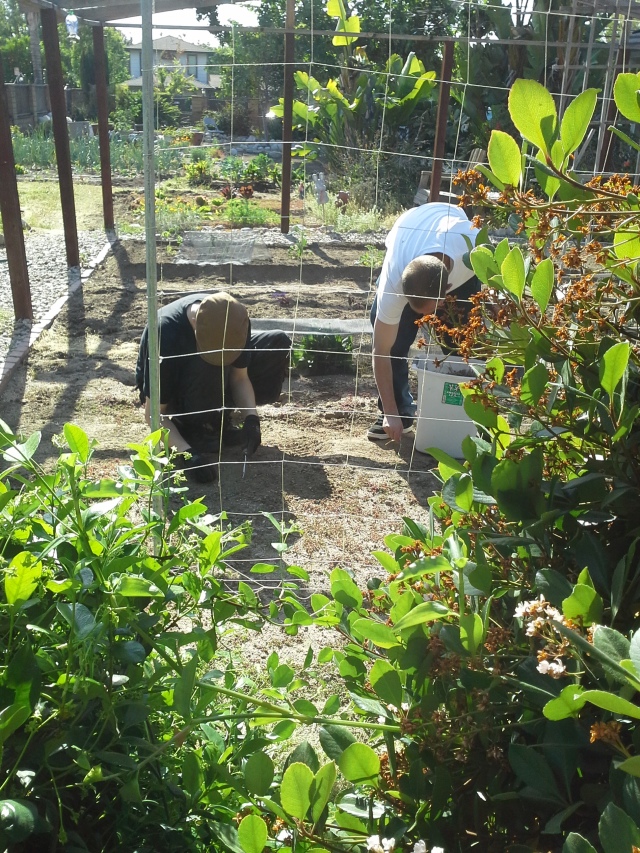
My helpers, removing weeds from the fallow beds.
I’ve purchased 12 Roma plants and a Black Cherry tomato plant, but their beds aren’t ready yet. Two of my helpers are removing weeds and grass, and soon the empty beds will be ready for their new summer plants. There were two tomato plants in this garden last year, so this year I’ll be planting squash in their spots.
Although I suppose it shouldn’t surprise me, I must admit that I WAS rather surprised when Donovan told me a friend of his who’s never seen my garden wanted to buy some of my fresh produce and as many brown eggs as I had available. Although I’ve been selling my organic eggs for about a year, I’ve been giving my extra produce to my friends and family. A few days later, my newest egg customer also asked if she could purchase some of my vegetables! So now I’m planning my summer garden with these and, hopefully, other people in mind. I love contributing to the community in this manner!
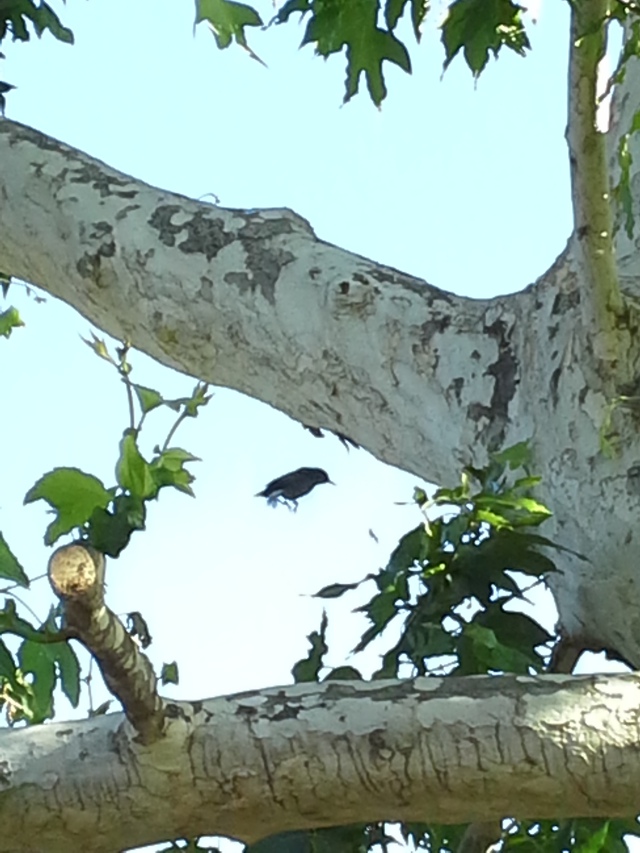
Woodpecker moving from limb to limb on the sycamore tree.
And last, but not least, I discovered two days ago that a woodpecker is visiting our sycamore. I managed to get a photo of it just as it was leaving one limb for another.
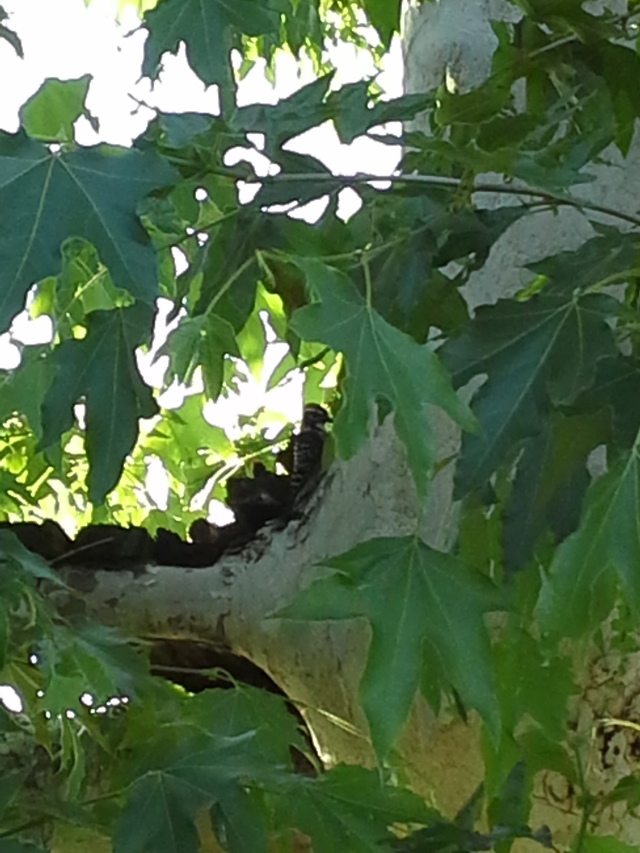
Another shot of the woodpecker after it moved to another limb.


